
Unity is a popular game development platform that many people use to create games. Prefabs are visual references that can help you separate and modularize your game code. It takes less time to reference specific code inside your game when you create a prefab. To help users create games, Unity offers a huge library of resources, scripts, and tools.
To use Prefabs in Unity, follow these steps:
- How to create Prefab?
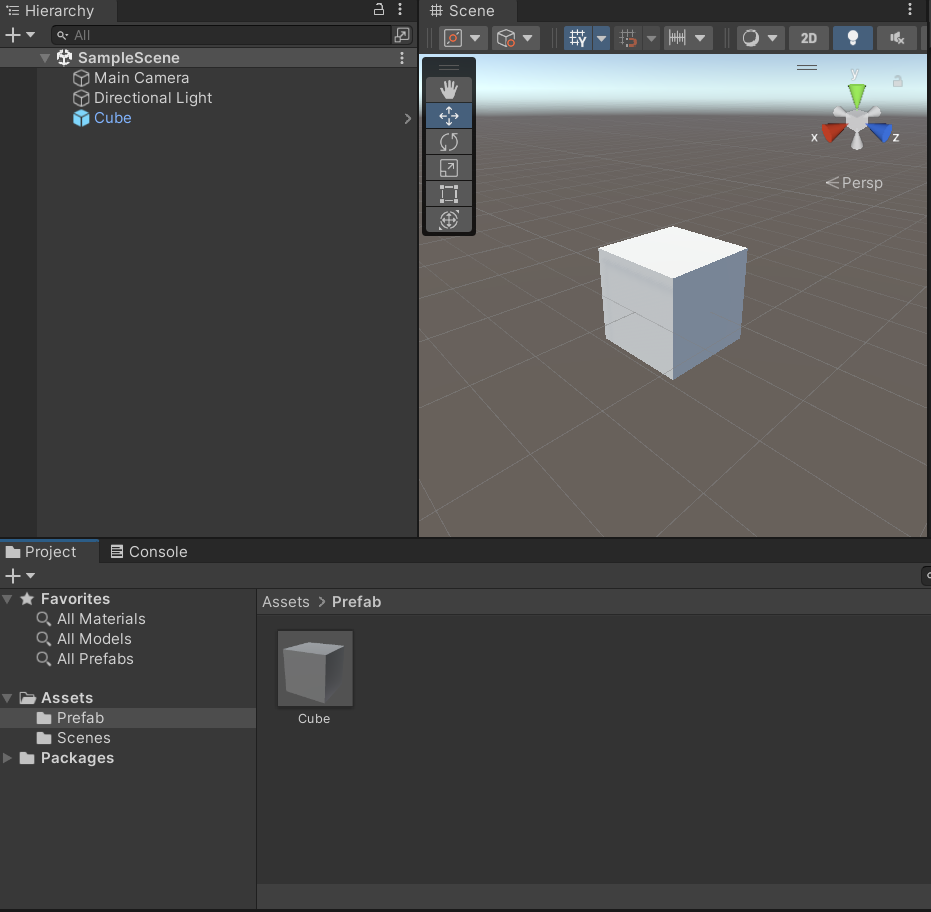
To create a prefab, select the Game Object in the hierarchy that you want to turn into a prefab. Drag it into the project window (or right-click and choose “Create Prefab”). Unity will generate a new prefab file for you to use in the future.
- How to modify Prefab?
Like all other asset in Unity, The Prefab Mode allows you to view and edit the contents of the Prefab Asset after it has been built. This implies that any changes you make in Prefab Mode will be applied to all instances of that Prefab, across the game.
Select a prefab instance, then click Open in the Inspector or the Arrow next to the prefab instance to activate prefab mode in context.
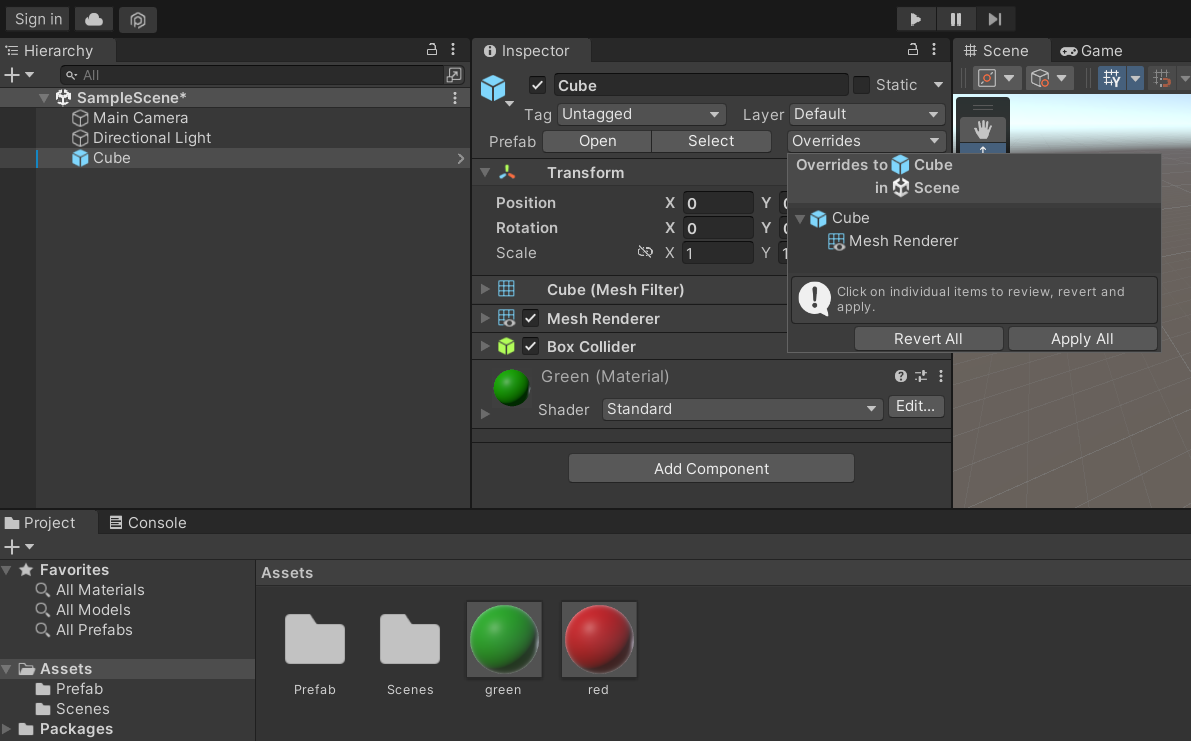
The original Prefab in the Projects folder is highlighted when you press the Select button.
A prefab instance no longer receives updates from the prefab when you change a property in the instance after creating it. We refer to this as an override. All modifications to the prefab will be shown in the Overrides menu.
By selecting “Revert All” from the “Overrides” dropdown menu next to the property, you may restore an overridden property to its default prefab value.
By pressing “Apply All” the button, any modifications made to the selected Prefab are made permanent, changing both the original and all of its instances.
- How to Use Nested Prefab?
A nested prefab in Unity is a way to create a reusable object that contains multiple child objects with their own properties and behaviors. When you make changes to the parent prefab, all instances of that prefab will automatically update with the same changes. This allows for creating complex hierarchies of prefabs and helps in reusable and modular game development.

To create a nested prefab, you can follow these steps:
- Create a new empty GameObject by right-clicking in the Hierarchy panel and selecting “Create Empty”.
- Rename the new empty GameObject to “ParentPrefab”.
- Add some child GameObjects to the “ParentPrefab” by right-clicking it, choosing “Create Empty Child”, and doing this a few times. Create three child GameObjects with the names “Child1,” “Child2,” and “Child3,” for instance.
- Add some components or properties to each child GameObject. For example, give “Child1,” “Child2,” and “Child3” the components “Sphere Collider,” “Box Collider,” and “Rigidbody,” respectively.
- In the Hierarchy panel, choose the “ParentPrefab” GameObject.
- In the Inspector panel, click on the “Create” button next to the “Prefab” label. This will create a new prefab asset for the “ParentPrefab”.
- To create an instance of the prefab, drag the “ParentPrefab” prefab from the Project panel into the Scene view. If you’d like, you can create more than one instance.
- All instances of the “ParentPrefab” prefab will now immediately update with the same modifications whenever you edit the prefab, such as by adding or deleting child GameObjects or changing their settings.

With the use of nested prefabs, you can simply make modifications to complicated objects made up of reusable components without having to manually update every instance. This can help you save time and effort while working on complex projects that contain many of similar elements.